There's an old song entitled What a Difference a Day Makes, and that is certainly true in terms of the weather we have been having around here. Late yesterday afternoon I was so glad to have the sun shining after a couple of days of dreary weather that I snapped this picture of the beautiful blue sky -- just a wisp or two of clouds. It was a lovely day -- warm but not humid with a slight breeze blowing. It was the kind of day that causes you to long to be outside.
 However, last night was as they say, "a whole 'nother story!" We had a thunderstorm like we have not had for quite some time. Lightning lit the sky like a torch, while thunder boomed like a cannon. Rain pounded the roof; and no one in THIS house slept very soundly last night.

This morning it was darker than usual, and it continued to rain.

Yesterday's sky with barely a cloud to be seen turned into today's sky that was a canopy of clouds.
 Both students and teacher were sluggish, a result of the combination of a dreary day and lost sleep.
Yet, in all of this we need to give thanks for the rain that we needed so badly. A very dry August has left things a little parched around here. I know that the few flowers I have left blooming are very grateful for a much needed drink.


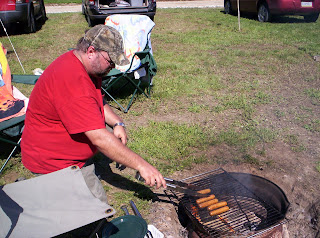
 Some of the men folk rose early, grabbed their fishing gear and headed for the river.
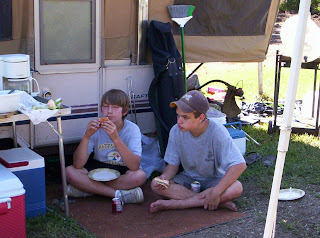
 In the afternoon,my second niece arrived... no, not by boat.
 So we sat down for a good game of Scattergories and a lot of banter.